Structure & definition
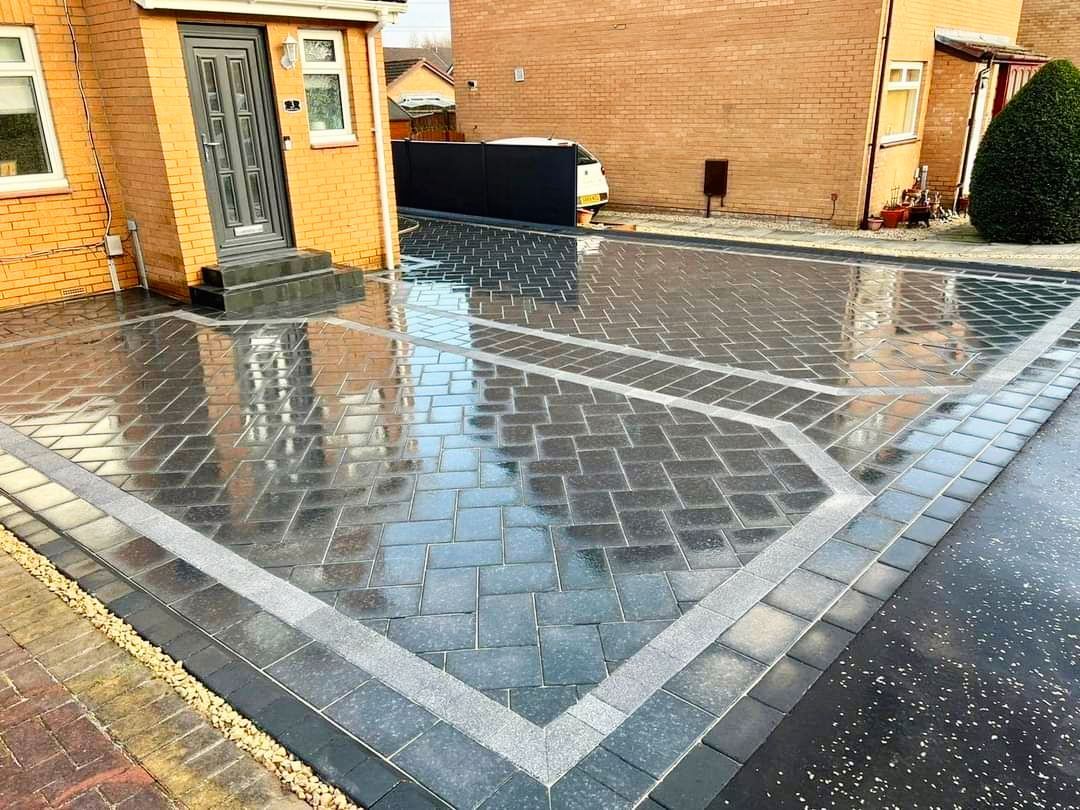
Explore contrasting borders, subtle colour blends and a pattern that frames the entrance.
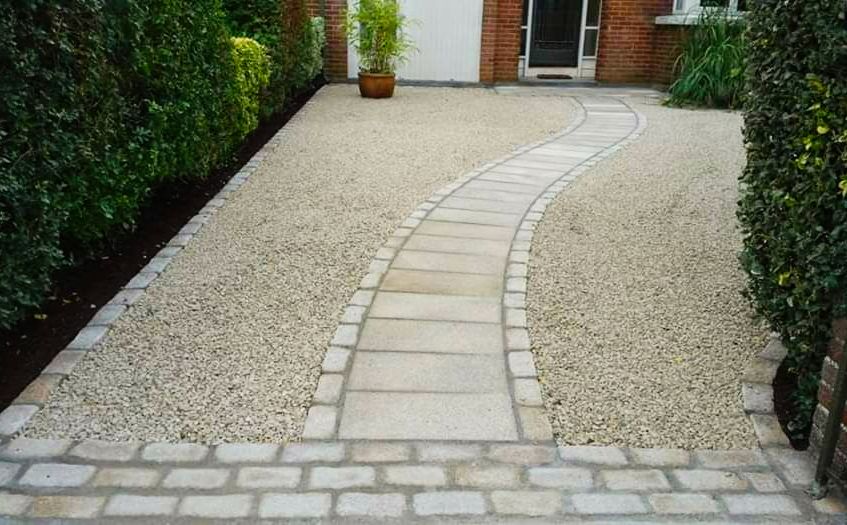
Explore paving ideas, materials and the details that bring your outdoor space together.
Explore the gallery ↗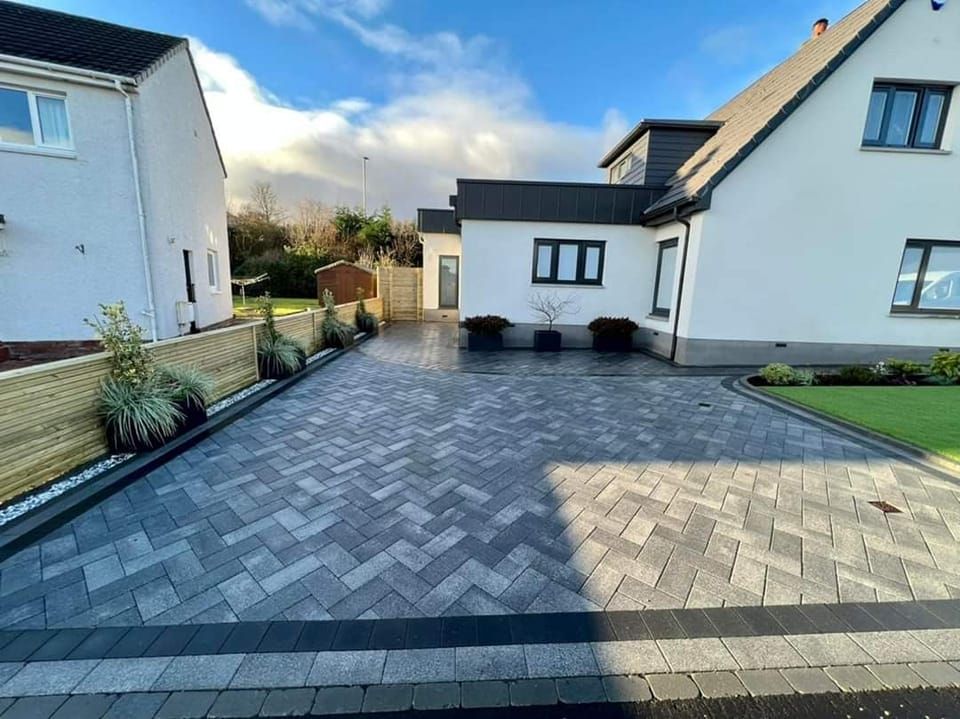
Driveways, patios and connecting paths, with groundwork, drainage and edging considered together.
Explore whole spaces and the details up close. Open a project photograph for a larger view or a clean print layout.
Start with the look you love. Then match the product, finish and laying method to how the space will be used.
Explore contrasting borders, subtle colour blends and a pattern that frames the entrance.
Look at the individual tones and surface character, alongside the product’s suitability for the setting.
Consider larger formats and a restrained palette, with an outdoor product and installation system selected together.
A small decision.
A different feel.
Explore different approaches to the ground beneath the finish. The right specification starts with the site and how the space will be used.
 View photo ↗
For a site where a base is already in place. Its condition, levels and drainage need assessment before it is reused.
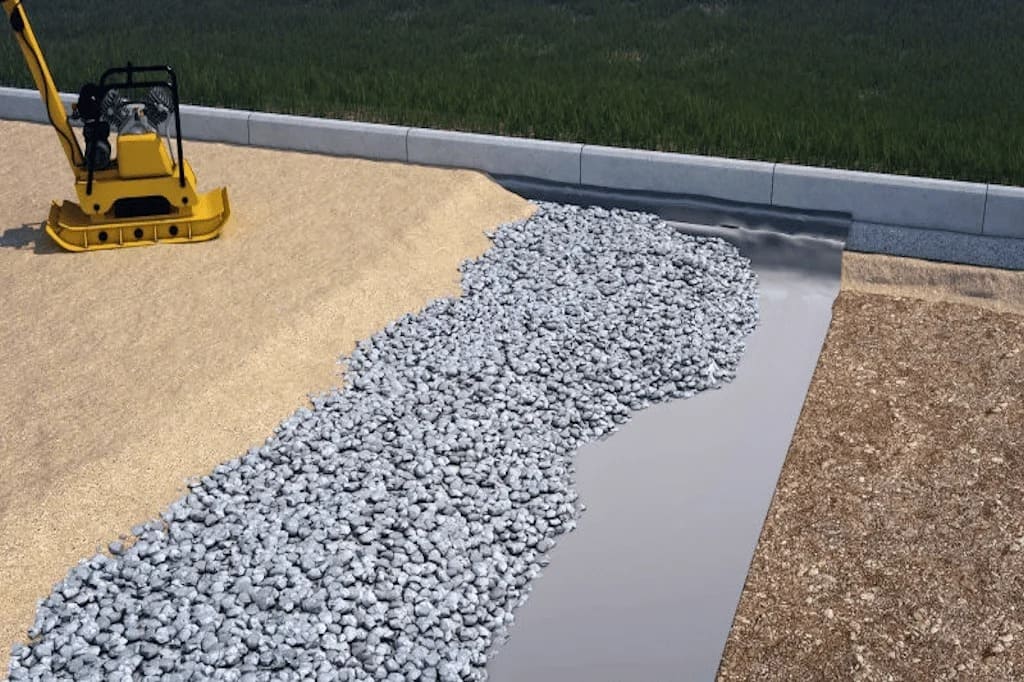 View photo ↗
A look at a flexible construction with compacted aggregate below the laying course. The build-up is selected for the site and intended use.
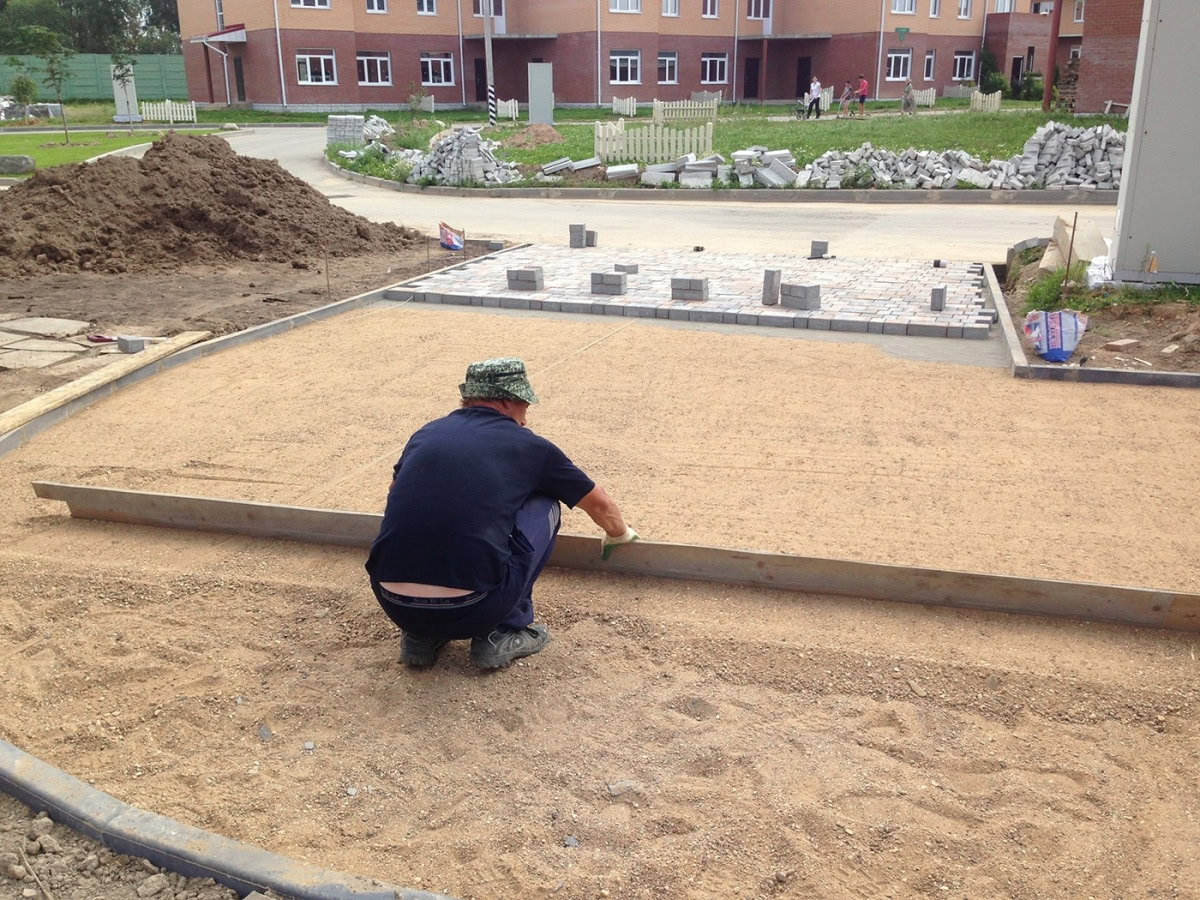 View photo ↗
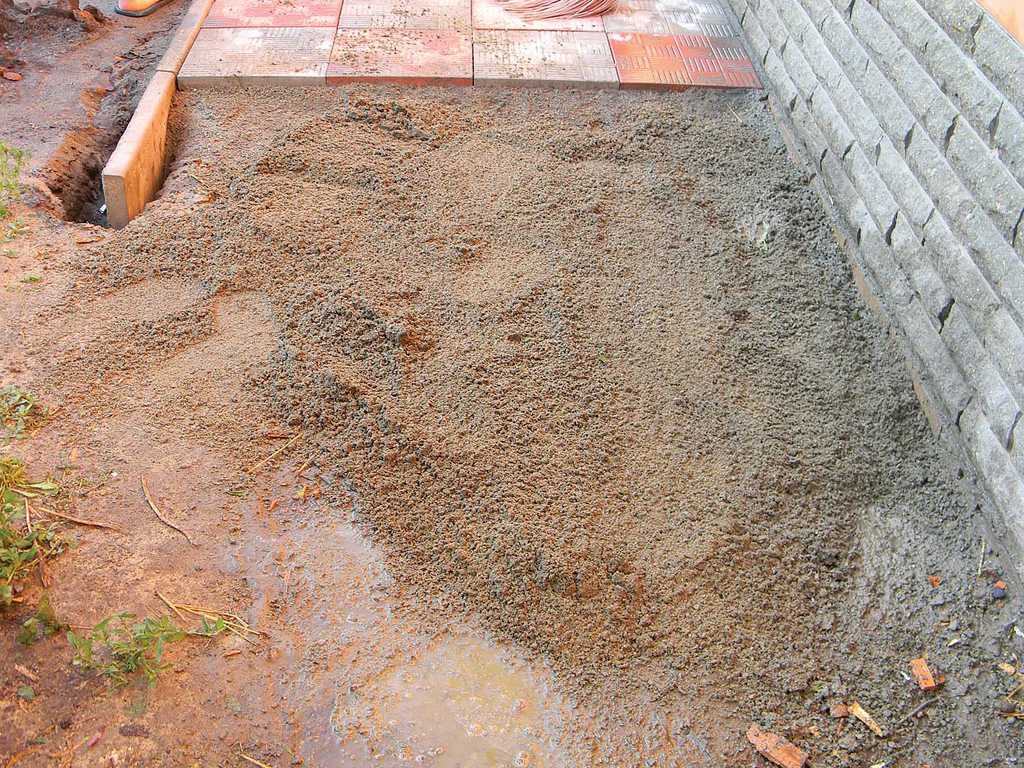
A sand-based installation option. Ground support and loading must be assessed; sand alone is not a universal driveway foundation.
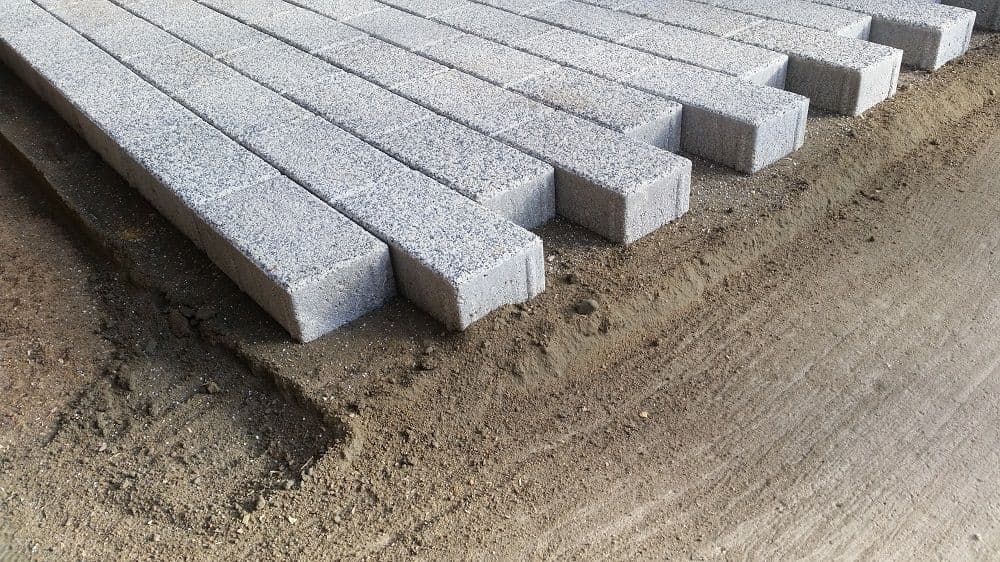 View photo ↗
An alternative construction using a concrete base where the project design calls for it. The bedding, drainage and movement details need to suit the paving system.
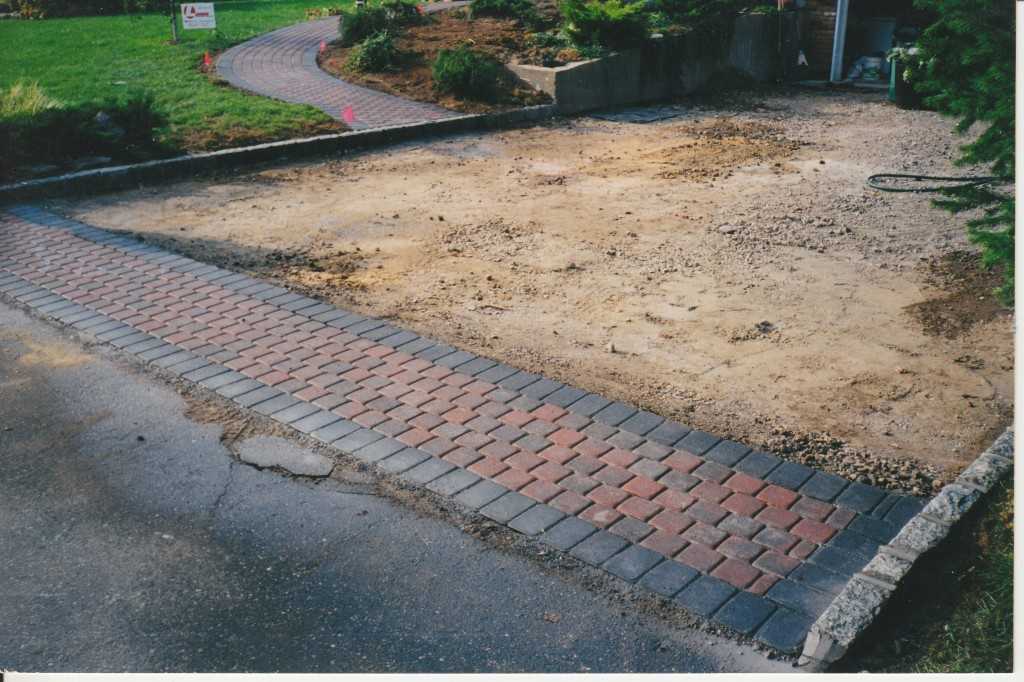 View photo ↗
A vehicle area needs a construction designed for its traffic. A concrete base is one possible approach, rather than a requirement for every driveway.
The paving is one part of the construction. Support, drainage and edges need to work as a complete system.
Unbound block paving construction. Porcelain, natural stone and permeable systems require their own construction specification.
A garden path and a vehicle entrance place different demands on the ground beneath them.
Falls, outlets and the appropriate drainage approach need to be planned before installation.
Restraints and transitions should be detailed alongside the paving, not left as an afterthought.
Ground conditions, loading and the chosen product determine the construction. There is no single layer depth for every project.
When comparing projects, look beyond the overall photograph. These are the details to ask about.
Explore the gallery ↗Look at the pattern, joints and how the paving meets walls, steps and borders.
Ask how the new surface will relate to doors, access points and existing features.
Understand where surface water is intended to go, and how the proposed system handles it.
Agree what completion includes, along with care advice and any written workmanship terms.
From the first conversation to the finishing details, see how a paving project comes together.
Share photographs, location, intended use and the look you have in mind.
Review access, existing surfaces, ground conditions, levels and drainage needs.
Agree the surface, pattern, borders and itemised scope before work starts.
Set out the area and carry out the groundwork required by the agreed design.
Install the selected paving system, including cuts, joints and transitions.
Walk through the finish and confirm when and how the new surface can be used.
The area matters. So do the existing surface, site access, groundwork, material choice and the details around the edges.
A useful quotation makes the scope clear, rather than giving you a square-metre figure without context.
Discuss your paving project ↗Survey, measurements & layout
Removal of existing surfaces & waste
Groundwork & sub-base preparation
Paving supply, laying & jointing
Drainage, borders, steps & access covers
Completion, care advice & written terms
Choose your quantities with the + and − buttons. Measurements increase in steps of 5.
The practical details, before the first paving block is laid.
Your location or Eircode, a few clear photographs, approximate dimensions and whether the space is for parking, walking or outdoor living. Include inspiration images if you have them.
Photographs can help explain a project, but they do not show every ground condition or level. Any initial indication should be distinguished from a quotation based on an agreed scope and site assessment.
Start with intended use, appearance and maintenance preferences. The product’s suitability, installation requirements and samples should be reviewed before a final choice.
Not all paving is permeable. Conventional paving needs a planned approach to surface water. A permeable system uses compatible paving, joints and underlying layers designed to manage water together.
The existing construction needs assessment first. Its condition, support, levels and drainage determine whether it can be retained or needs replacement.
Timing depends on area, access, preparation, the chosen installation system and weather. Agree an expected programme and any curing or settling requirements for your particular project.
Ask for written workmanship terms, including the cover, exclusions and claim process, before agreeing to a project.
Open a photograph in the portfolio and choose “Print image”. For best results, choose a print size suitable for the photograph’s resolution.
Your location. A few photographs. An idea of the space.
A useful starting point for your paving project.
 Chat on WhatsApp ↗